So, why did I decide to make some gluten free onion rings?
Well, until my coeliac diagnosis, I was never an onion ring lover because the ones I had tried were either from the freezer or the overly greasy restaurant kind. However, as all coeliacs do, I headed to a well known London-based burger chain (Honest burgers!) and they completely changed my opinion. They inspired me to create my own version at home and although it takes some believing, I think these are 99% as good!!

5 Secrets to the perfect, crunchy, gluten free Onion Rings
(1) Once fried, place the onion rings on a cooling rack to let the oil drip off. I find this is 100x better than placing them on kitchen roll. It makes them so crunchy!!
(2) Double up on the small onions! I like the onion inside the batter to be quite chunky otherwise it can feel like you’ve got all batter. I use two rings together per onion ring. There’s some pics in the instructions to show what I mean 🙂
(3) Use self-raising flour. Most batters recommend a plain flour but I think self-raising creates a lovely light coating!
(4) Season your flour. Easy to forget but make sure you add some salt and pepper to your flour before creating the batter to make it extra tasty!
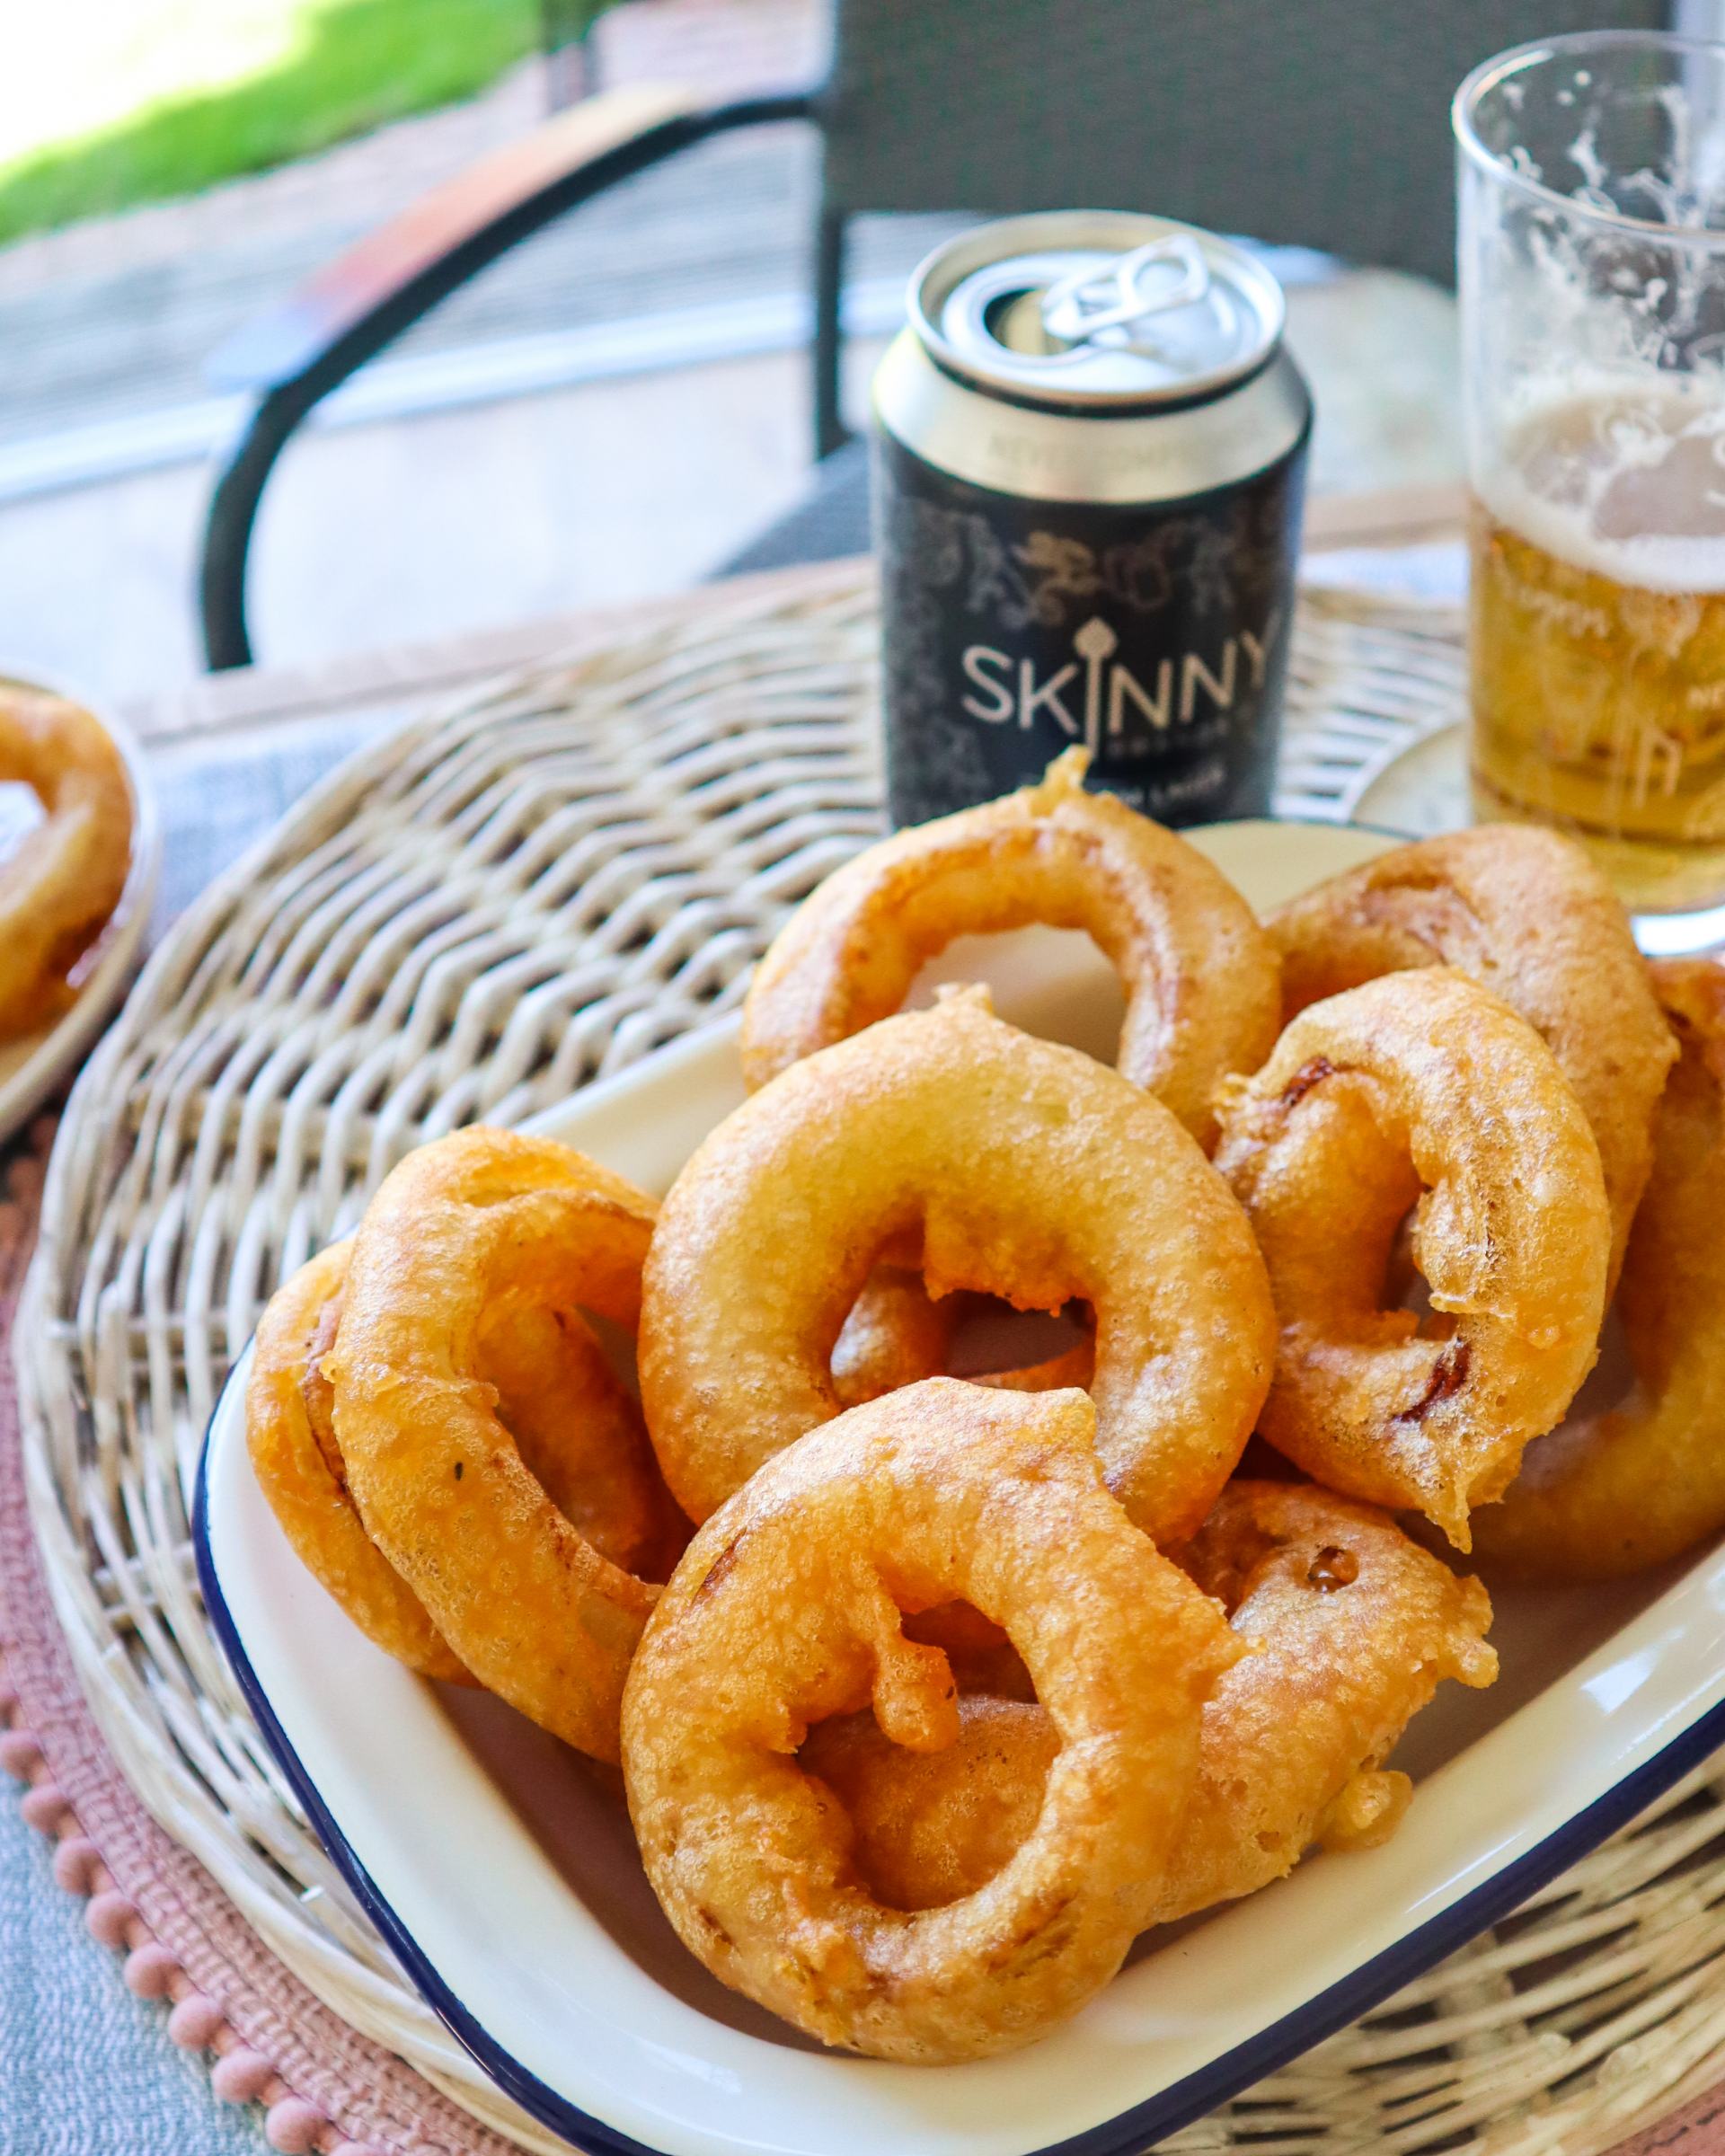
(2) USE SKINNY LAGER for the batter!!! More info below
Want a bit more info about Skinny Lager
The facts: Skinny Lager is Coeliac Certified. It is only 89 Calories per bottle which is 35% fewer calories than other premium lagers. As well as Skinny Lager being Gluten Free, they are Vegan Certified and Kosher friendly too.
The lightness of the lager creates the BEST batter.
A true story you need to know! My boyfriend is not gluten free. He only shares my gluten free food when having gluten-full version in the house could cause cc nightmares in our kitchen – breadcrumbs for example. When it comes to beer, I’d be completely cool with him having a “normal”, gluten full version in the house because the odds of it causing any issues for me is minimal. YET HE DECIDED TO DRINK SKINNY LAGER. That is how good it is!!
Want to buy some: Available in Asda, Tesco, Ocado, Morrisons and Amazon

Want to make gluten free fish and chips ? The batter (and process) is very similar!!

Gluten Free Onion Rings
Ingredients
- 3 large onions
- 250 grams gluten free self raising flour - can use plain flour
- 330 ml Skinny Lager - one bottle/can
- Sprinkle of seasoning - I like just using salt & pepper but some people add a pinch of paprika too
- 1 litre sunflower oil
Instructions
- Add the oil to pan. Heat to 180oC.>You want a deep pan – enough to get at least 3 inches of oil in there. Ideally, it shouldn’t be any more than 2/3rds full – it spits and bubbles so it’s safer this way. Also make sure your pan is immaculately clean before adding the oil otherwise that makes it spit too!>Haven't got a thermometer? Other ways to tell: (1) It takes roughly 3-5 mins on a medium heat to bring 1 litre of oil to this temperate. (2) Drop a tsp of batter into the oil – you’re looking for a sizzle (quite a few bubbles) and the underside to go brown within about 20-30 seconds. If it goes brown quicker than that, the oil is too hot turn down the heat a little and wait a few mins and repeat. If it’s slower, the oil is too cool so wait a bit longer and repeat (frying in too cooler oil means the onion rings will soak up some of the oil and be greasy)
- Peel the outside skin off an onion and chop into slices>I like each ring to be about 1cm deep.

- Break them into rings>For most of the rings, I keep 2 together to ensure you get lots of onion in the midde and it doesnt just take like batter. Hopefully you can see what I mean in the pic!

- Add the seasoning, flour and and lager to a mixing bowl and whisk (either by hand or with an electric whisk). >Make sure you get right to the bottom of the mixing bowl as the flour tends to sneakily sit there.
- Take an onion ring, dip into the batter making sure its fully coated, and carefully lower into the oil. Repeat until your pan is full.
- Leave the onion rings until JUST brown on the underside (like the pic – should take about 1 min). At this stage, flip them over and cook until brown on the other side too.

- Remove from the heat with a slotted spoon and place onto a cooling rack, allowing the excess oil to drain through the rack.
- Repeat for the rest of your onion rings!
- Eat as quickly as possible for the best crunch 🙂 Enjoy!!


3 Comments
Gemma
30th March 2021 at 7:39 am
A great recipe. Made these and they were far better than any onion rings I’ve eaten. Everyone loved them. Thank you for posting this recipe.
Deanna
23rd June 2022 at 8:25 pm
Finally found a delicious batter mix to make gluten free onion rings for my daughter. So crispy. We all enjoyed them. Have since used the batter for fish. Amazing
Deanna
23rd June 2022 at 8:25 pm
Finally found a delicious batter mix to make gluten free onion rings for my daughter. So crispy. We all enjoyed them. Have since used the batter for fish.