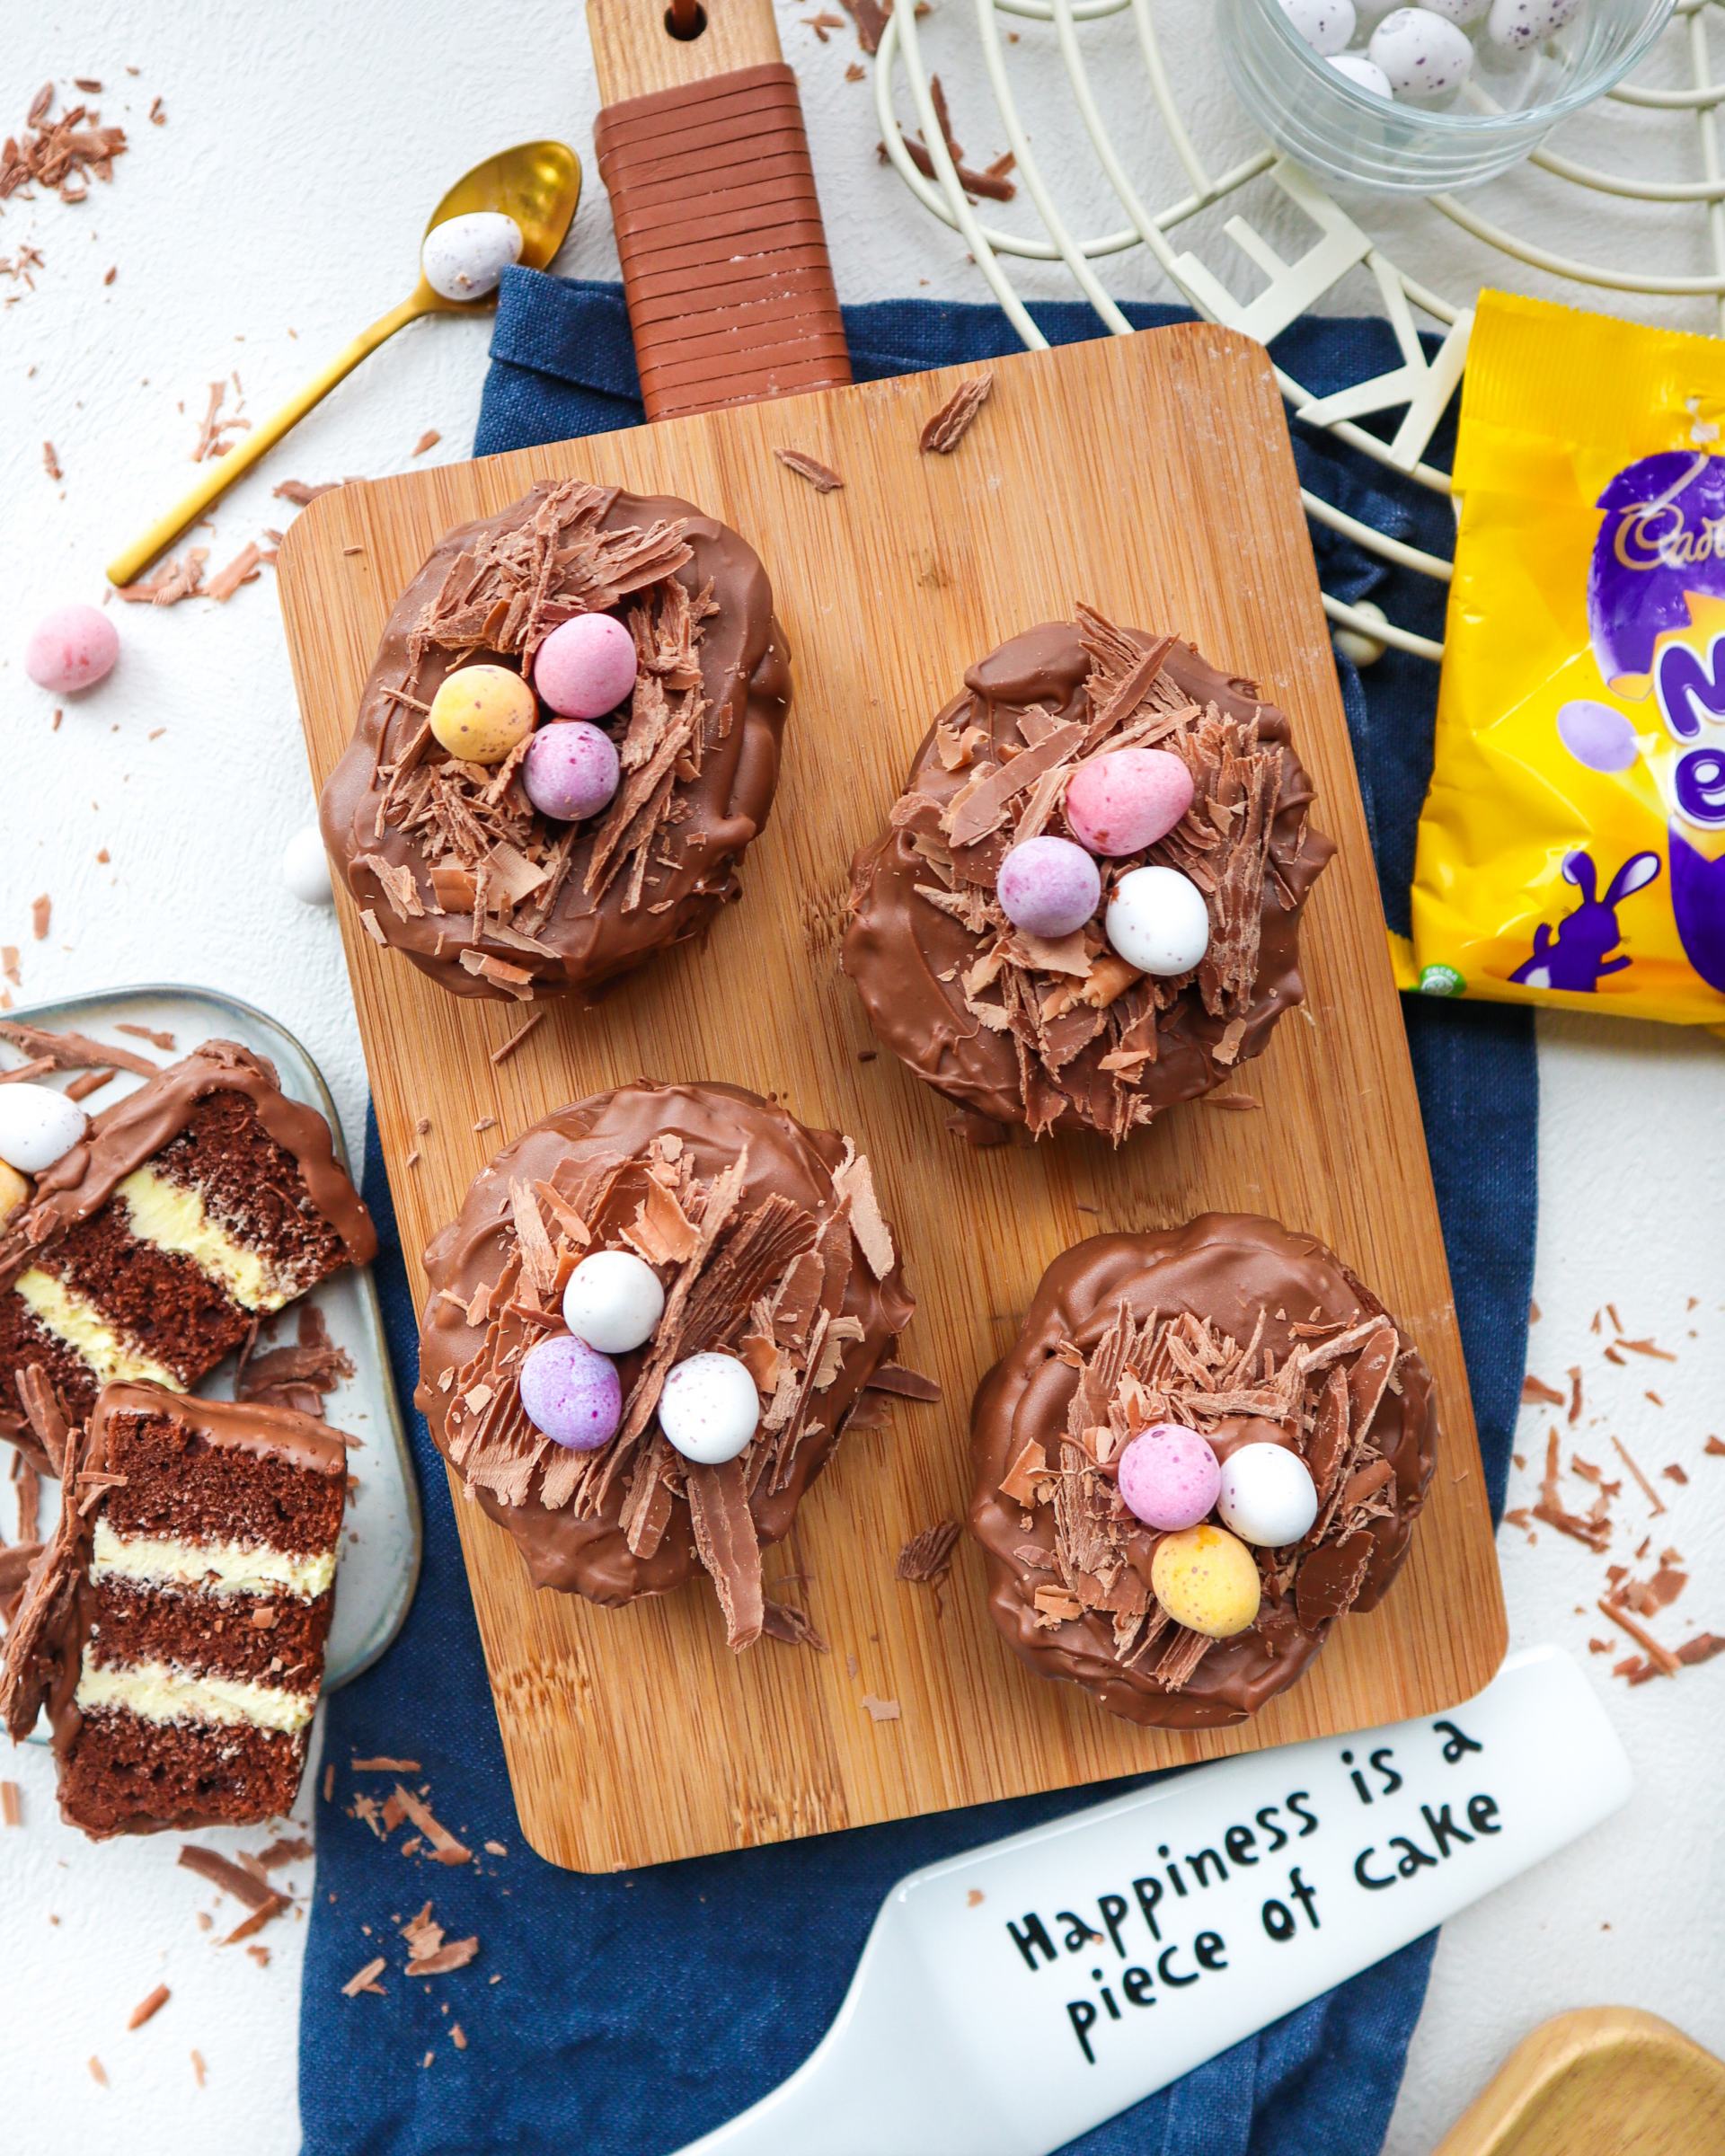
Gluten Free Mini Egg Nest Cakes!
I was reminded of “Cadbury Mini Egg Cakes” in the supermarket the other day and then I spent the week REALLY craving them….to my knowledge, there is no gluten free replacement and we can’t be having that so set out making my own.

Really happy with how they’ve turned out – hope you guys love them too!!

Ingredients
Here’s all you need. Hopefully all very simple and easy to get hold of!

Here’s some info about the ingredients and possible substitutions if you need them:
1) Gluten Free Flour
- Cupcakes: Ideally you need self-raising for the cupcakes. If not, add 1 tsp of baking powder to every 150g roughly) of plain flour – most baking powders are gluten free but double check yours!!!
- Brand: I like Doves Farm FREEE
(2) Caster Sugar & Light Brown Sugar – The ratio I’ve given is ideal for a slightly sweet, caramel note but you can switch for any combo of caster sugar, light brown sugar, golden caster sugar or white granulated sugar and it’ll work fine.
(3) Icing Sugar – no other options here I’m afraid!
(4) “Spread” – Flora – this is my preference for making cakes and buttercream as it makes them light and fluffy and is naturally dairy free but of course you can replace it for any of your preferred brands
(5) Egg – I’m yet to try other options but I’m told flax eggs, chia or even more apple sauce can work! Will try them asap and update this guide
(6) Cocoa powder – you can use cacao powder but its not as sweet or tasty! If you’re desperate (like I have been a few times…shh!!), you can also sub in some hot chocolate powder, ideally one with a high cocoa content
(7) Mini eggs and flake ontop – use whatever you fancy 🙂
Dairy free?
Its all naturally dairy free except the mini eggs (and obviously make sure you’ve got dairy free chocolate!).
For the mini eggs, you can use Rhythm 108 eggs! Or even something totally different like a Moo chocolate bunny or some “Easter Fun” Haribo sweets. There’s lots of ideas here in my Gluten and Dairy Free Easter Guide
Fairycakes vs Cupcakes vs Muffin cases
What’s the difference?! All brands vary slightly in size but roughly:
- Fairy cakes fit about 1 tbsp of cake mix*
- Cupcake cases fit about 1.5 tbsp of cake mix
- Muffin cases are almost 2 tbsp of cake mix
This shows you the size difference of the cases: (fairy cake on the left, muffin on the right).

What size is best? Fairy Cake or Cupcake cases are ideal because they make sensibly sized Gluten Free Mini Egg Nest Cakes that are easiest to work with!
Muffin cases will work too but be warned, they turn out the size of the palm of my hand!! By the time you cut the little cake into 3 pieces, fill it with buttercream and coat in chocolate, they’re quite big. You could always cut them in two and share them! Or don’t… like me haha 😉
Where can I get them from? You can buy them from any supermarket and they’ll specifically state “cupcake /fairy cake cases” on the label. No need to buy a special cake tin though – I still use a regular 12-hole muffin tray. I buy both my fairycake cases and cupcake cases from Sainsburys and they’re both perfect.
*I should caveat this with the fact that some brands call “fairy cases” the tiny, tiny ones that only fit about 1 tsp of mix, not 1 tbsp. They’re about the size of a 50p. This is rare nowadays – I haven’t seen this size on sale supermarkets/b&m/lakeland etc in years but thought I would flag it incase! They couldn’t be used here as the cakes would be far too small to cut but you’ll know that when you see the size of them!!

Gluten Free Mini Egg Cakes
Ingredients
Cakes
- 70 g spread/butter - I use a tub of Flora (original or dairy free)
- 50 g caster sugar
- 25 g light brown sugar - or caster sugar/golden caster sugar if you haven't got any
- 1 egg
- 75 g gluten free self raising flour
- 1 tbsp cocoa powder (15g)
Construction
- 400 g chocolate - this will probably be too much but the more you use the easier it is to dip the cakes in (and you get to eat the rest of the bowl of melted choc with a spoon!)
- 75 g spread/butter
- 150 g icing sugar
- A 80g packet of mini eggs
- 4 flakes/twirls - or you can make your own chocolate curls – see notes at the bottom
Instructions
Making the Cakes
- Preheat your oven to 180oC (fan).
- Line your muffin tray with cake cases.
- In a large bowl, whisk together 70g of spread, caster sugar and light brown sugar until fully combined.>You’re looking for the mix to be paler, smooth & creamy! I use an electric whisk for 1 min.

- Add the flour, cocoa powder and egg into the same bowl.
- Whisk until JUST combined.>I use an electric whisk for 10 seconds.
- Scrape right around the sides of the bowl and to the bottom, to pick up any excess flour and check there’s no unmixed bits at the bottom of the bowl. Give the mixture a quick whisk to check everything is fully combined. >Try not to over whisk! 3 seconds at most.

- Spoon the mix into your cake cases. >They should be about 2/3 full to give it enough room to expand when it bakes>If you're using fairy cases, its about 1tbsp in each, cupcake cakes is 1.5 tbsp in each, muffin cases is 2 tbsp. >They haven't got to be too neat – they'll sort themselves out in the oven!

- Place the cupcakes into the oven to bake. If you're using fairy cakes, they'll need 15 mins. If you're using cupcakes, they'll need 17-20 mins. Muffin cases 20-23 mins>You’re looking for them to be firm on top but slightly springy to touch and a knife/skewer poked into the middle of the cake should come out relatively clean!
- Once cooked, leave the cupcakes in the tray for 5 mins to cool and firm up slightly. Then transfer to a cooling rack.

- Once the cakes are cooled, please them onto a plate/container that will fit into your freezer, cover with cling film/foil and freeze for a minimum of an hour.>This makes the next steps easier!
Construction
- Add the butter and icing sugar to a bowl. Whisk until smooth. This will take at least 1 min. >It should be paler and fluffy!
- Slice each cake into 3 pieces. >I use a sharp, serrated knife for this and slice in a sawing action to make sure the cake doesn't fall apart. If it does, don't worry too much as they'll be covered in chocolate!

- Add a layer of buttercream in between each piece and sandwich them back together.>If you're good with a piping bag, you might want to do it like this with a small nozzle. If you're less confident, just use teaspoons. Put about 1 heaped tsp of buttericing onto the spoon and use another spoon or your finger to push it off onto the cake.>My top tip is DON'T try to overfill it or make these too perfect, the more you play around with it, the more the cakes will crumble and just make a mess. You can see how rough mine are – that will be fine!!!

Coat your cakes in chocolate
- BEFORE WE START THIS SECTION, READ THE NOTES AT THE BOTTOM (a and b)
- Place a sheet of tin foil over a plate late/something flat that will fit in the fridge
- Melt your chocolate. My preferred method is in the notes if its helpful.

- Place your cake on top of a fork. OPTION 1: If you want to cover the whole cake in chocolate: Pour your melted chocolate in a small but deep dish – something like an individual pie dish. Lower the cake into the melted chocolate until the base is covered, keeping it on the fork. Lift the fork up, letting any excess chocolate drip off. Use a teaspoon to cover the top of the cake and gently spread around the sidesOPTION 2: *MY FAVE* just coat the top and a bit of the sides. They look just as pretty and it means you haven't got to try to submerge the cake into the chocolate and risk it falling apart. Hold the cake over the bowl of chocolate. Use a teaspoon to cover the top of the cake and gently spread around the sides.
- Quickly place the cake onto the tin foil and repeat for the rest.
- Add 2-3 mini eggs and broken up pieces of flake to the tops. >Tip: sprinkle the cakes in flake crumbs too to make it look neat and professional!>If your chocolate on your cakes is already setting, dip the eggs/flake into the melted chocolate bowl and stick them on.
- Place into the fridge until the chocolate has set.


