The Best Ever Gluten Free Vanilla Cupcakes: easy recipe!

Gluten Free Cupcakes: an absolute classic and the base of so many of the recipes on my blog! Simple steps with lots of pictures to help you, basic ingredients and delicious results. You can’t go wrong 🙂
Gluten free and naturally dairy free but you’d never, ever know it… challenge accepted?!
I can’t really believe its taken me so long to add this recipe to my website. Its the first thing I learned to make after finding out I was coeliac and over the years I’ve definitely mastered a fool-proof recipe!! Its one of those recipes where I’m 110% confident of what’s going to come out of the oven, every single time 🙂
I use it for the base of so many things – from my Apple Crumble Cupcakes and Coffee and Walnut Cupcakes to my Victoria Sponge. You could easily adapt it yourself too – how about adding a chocolate/jam core? Or some lemon flavouring? Whatever you fancy!

Gluten Free Cupcake Ingredients
Here’s everything you need to make my easy peasy gluten free cupcakes:

Here’s some info about the ingredients and possible substitutions if you need them:
1) Gluten Free Flour
- Cupcakes: Ideally you need self-raising for the cupcakes. If not, add 1.5 tsp of baking powder to the plain flour.
- Brand: I like Doves Farm FREEE
(2) Caster Sugar – White granulated sugar would be fine too
(3) Icing Sugar – no other options here I’m afraid!
(4) “Spread” – Flora – this is my preference for making cakes and buttercream as it makes them light and fluffy and is naturally dairy free but of course you can replace it for any of your preferred brands
(5) Egg – I’m yet to try other options but I’m told flax eggs, chia or even more apple sauce can work! Will try them asap and update this guide

What size cupcake cases have you got?
You can band case into 3 sizes, usually labelled on the box as “fairy”, “cupcake” or “muffin”. You can make delicious cupcakes with any of these sizes! This section will help you to adjust the ingredients quantities and cooking times accordingly
| Size | Quantities Required for 12 Cakes | Cooking Time |
|---|---|---|
| (1) Fairy Cases – tiny! Fits about 1-2 tsp of cake mix | Divide all of the cupcake ingredients by 2 (e.g. 4 eggs -> use 2 eggs) Divide all of the topping ingredients by 4 (e.g. 400g icing sugar -> use 100g) | 8-10 mins |
| (2) Cupcake Cases – the regular ones Fits 2 tbsp of cake mix | As per the recipe below | As per recipe below |
| (3) Muffin Cases – big! Fits 2 heaped tbsp of cake mix! | Times everything below by 1.25 (e.g. 4 eggs -> use 4 x 1.25 = 5 eggs) | 20-23 mins |
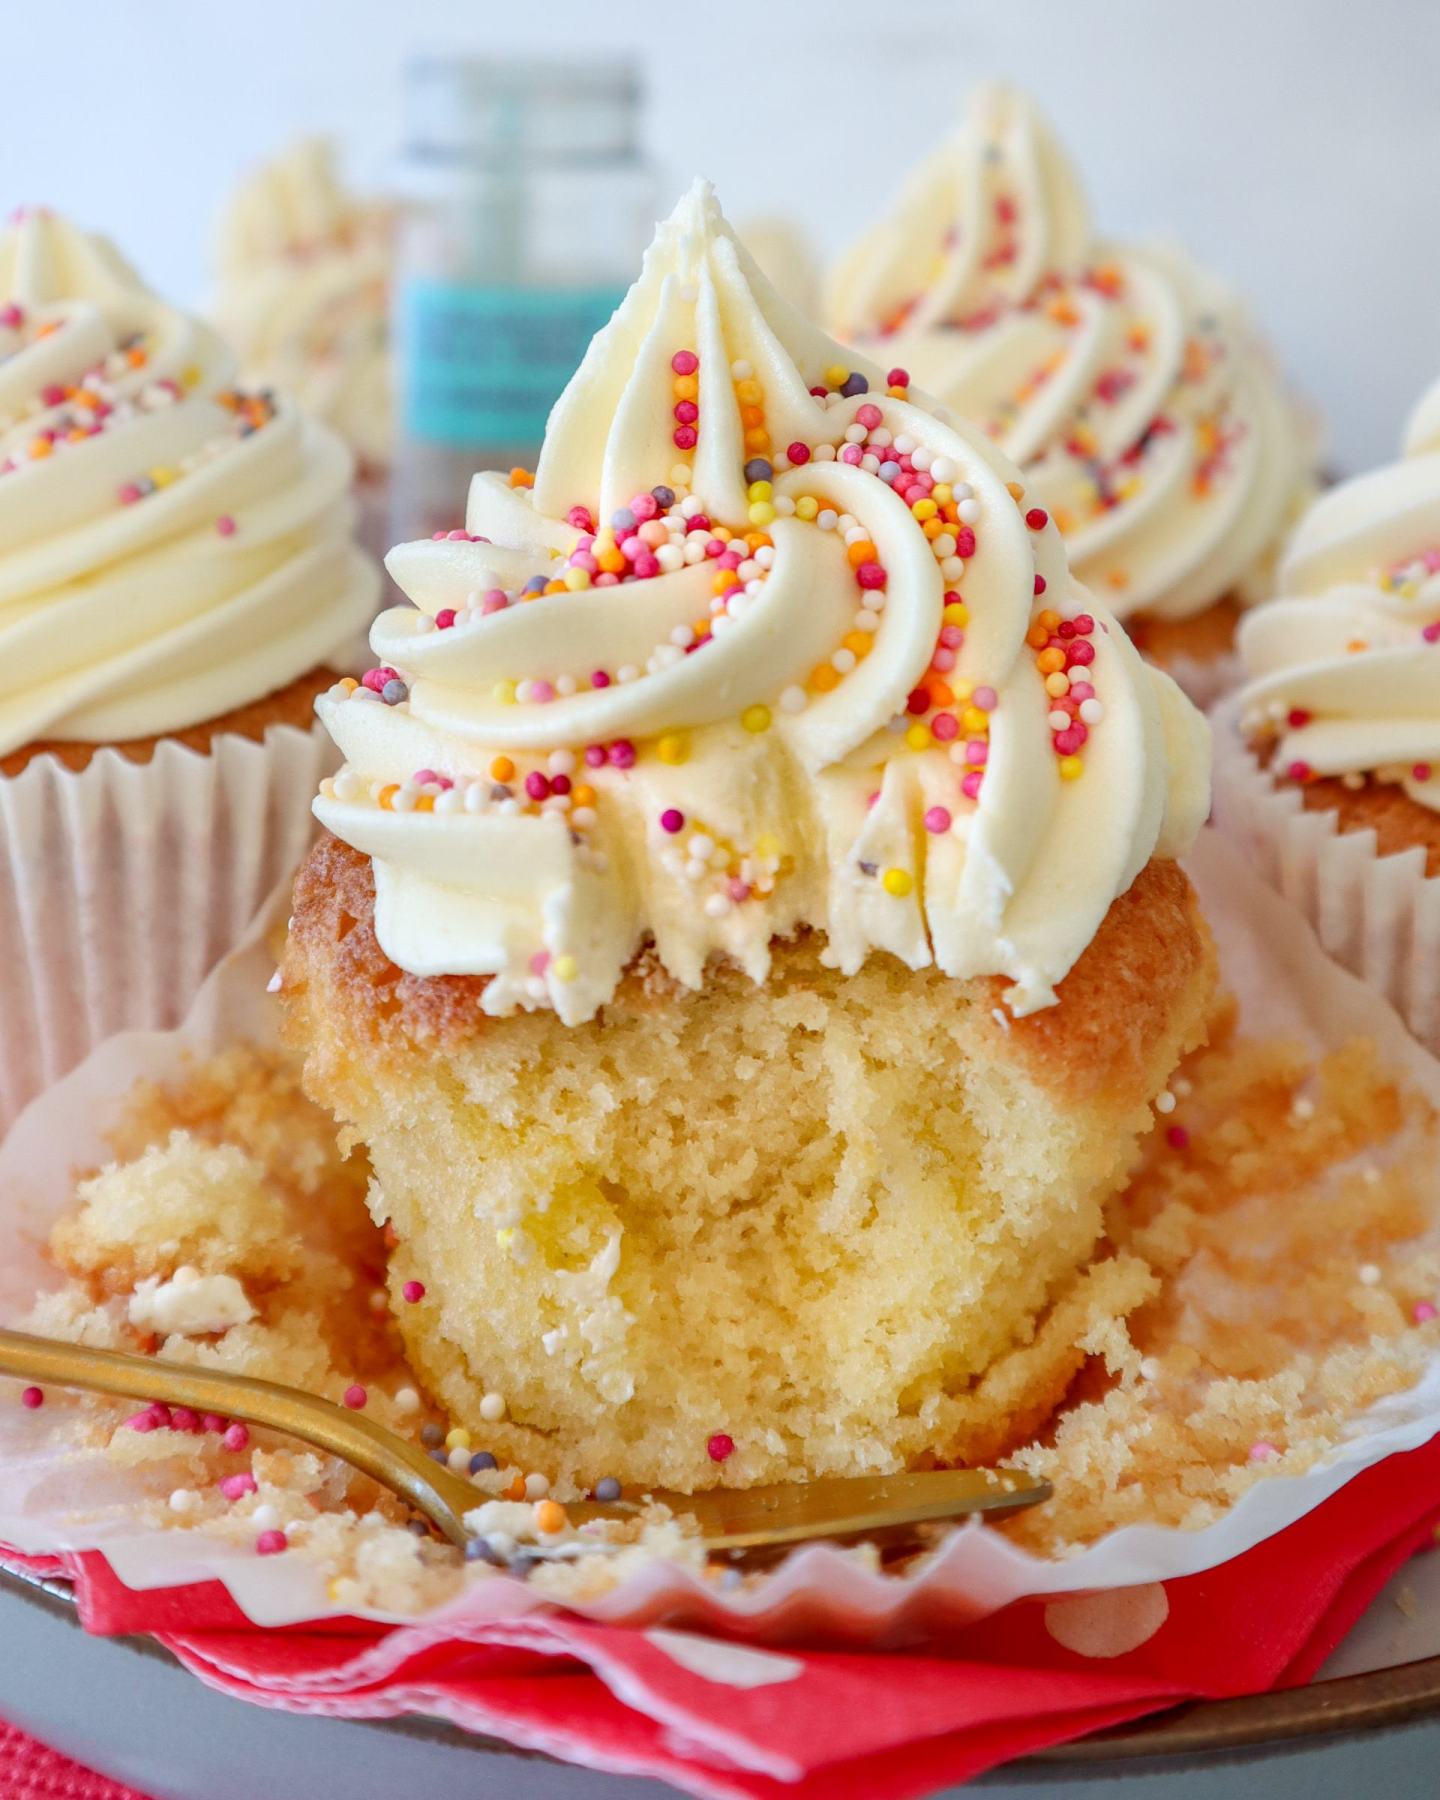
Want to have a “core” in your cupcake?
If you want to have a “core” in your cupcake (i.e. take out the middles and fill with choc spread/jam or whatever you fancy), I recommend muffin cases as they’ll give you plenty of room for your filling without risking the cupcake falling apart!

FAQ
Q. How do I make the recipe dairy free?
It is naturally dairy free already – wahooooo! As long as the spread you’re using is dairy free (like Flora Original in the pic above), then you’re good to go.
Q. Can I use “real” butter rather than spread?
Yes, you can swap 1:1 with spread, but personally I think using spread makes the cupcakes and buttercream lighter and tastier
Q. How long will they keep?
In a really good, airtight container they’ll keep for 5 days but they taste freshest from days 1-3.
Q. Can I freeze these cupcakes?
You can – make sure its cooled properly first and then wrap tightly in cling film/tin foil/airtight container before placing into the freezer. I have to admit, they’re not quite as good as from fresh though!!
Got any more questions? Send them to me! I’m @jessicaskitchen_gf on Instagram or email jessicaskitchen-gf@outlook.com

The Best Ever Gluten Free Cupcakes: easy recipe!
Ingredients
Cupcakes
- 225 grams Gluten Free Self-Raising Flour
- 225 grams Caster Sugar
- 225 grams Spread
- 4 Eggs
Topping
- 175 grams Spread
- 400 grams Icing Sugar
Instructions
Cupcakes
- Preheat your oven to 180oC (fan).
- Place 12 cupcake cases into your cupcake/muffin tray.
- In a large bowl, whisk together the butter & sugar until fully combined. >You’re looking for the mix to be paler, smooth & creamy! I use an electric whisk for 1 min. PICTURE

- Crack all the eggs into a separate bowl & beat together until just starting to froth up, like the picture. > Takes 5 seconds. You can use the electric whisk for this too.

- Add the flour and eggs to the butter/sugar. Whisk together until JUST combined (10 seconds). >Don’t over whisk, otherwise you’ll lose the air bubbles & your cake won’t be quite so fluffy!
- Scrape right around the sides of the bowl to pick up any excess flour.

- Give the mixture one final whisk, making sure you reach right to the bottom of the bowl and everything is fully combined. >Still try not to over whisk! 3 seconds at most.

- Place 1 heaped tbsp of the cake mix into each cupcake case. >I find its best to do this using two spoons – one to scoop up the mix and the other to scrape it into the cupcake case. >Each case should be about 2/3rd full. >GENTLY level each of them out slightly, so the cake mix is spread around the case quite evenly. Try not to get too much around the top 1/3 of the case (this is just to make your end result look extra neat!)

- Place the cupcakes into the centre of the oven. Bake for approx 17 mins. >If, like me, your oven is hotter at the back/front, you might want to very quickly rotate your cupcake tray around halfway during the cooking time to give an even bake. >WARNING: Do that quickly and don’t open the door again otherwise you’ll risk your cupcakes not rising properly. >How do you know if they’re ready? You’re looking for them to be firm on top but springy to touch and a knife/skewer poked into the middle of the cake should come out relatively clean!
- Once cooked, leave the cupcakes in the tray for 5 mins to cool and firm up slightly. Then transfer to a cooling rack.

Butter Icing
- Add the butter and icing sugar to a bowl. Whisk until smooth. This will take at least 2 mins.>It should have lightened in colour and look airy/fluffy!

- How to fix a common compliant: "My buttericing was too soft/didn’t hold its shape when piped”. My tip: Once you’ve made your icing, scrap right around the outside of the bowl and gather the butter icing together in the middle. Leave it to sit at room temperature for at least 30 mins. At that point, give it another little mix with a spoon and see how it feels – it should be smooth, quite firm and look like it’ll hold its shape. If not, add a few heaped tbsp of icing sugar and mix again. If its reaaaally firm and looks too tough to pipe, add a tiny dash of milk and whisk again.
Decorating
- Add a piping nozzle to a piping bag and spoon the buttercream into the piping bag
- Pipe your cupcakes >Tip for piping: I start by piping a circle around the outside of the cupcake and then, without stopping, move inwards and pipe the next smaller circle, overlapping about half of the first one. Keep going, piping smaller and smaller overlapping circles until you’ve reached the top!
- Eat!!!!

