My BEST EVER Gluten Free Party Rings!!
To my knowledge, Gluten Free Party Rings aren’t stocked on the free from supermarket shelves (yet!) so I wanted to make a quick and easy recipe so you can make them at home!!

My gluten free party rings recipe is a lot of fun to make and uses basic ingredients. The icing is actually *very* easy to get to my standard (but quick warning: don’t go for perfection with those lines, it’s a challenge that I’m not sure we can win without a professional machine haha!!)

Ingredients
Here’s a little bit of info about everything you need to make my party rings recipe:
- Flour – you can actually use self-raising or plain. Plain is perfect here because it stops the biscuits rising but it won’t make too much difference if self-raising is what you have to hand!
- Stork Block of Butter – wouldn’t recommend anything else!!!!
- Comes in a 250g foil block, NOT a tub – see pic below.
- Costs about 80p. Sometimes comes in prettier packaging (it’s yellow with pink spots at the moment!!) but always says “biscuits and pastry” on the front.
- It’s naturally dairy free too!!
- Here’s a link to the product in Tesco, so you can see what I mean!
- Caster Sugar – white granulated sugar would be fine too. Maybe even golden caster sugar – it might just result in a browner shortbread
- Icing sugar – no replacement for this!! You could use royal icing sugar if that’s all you’ve got (the one that has egg powder in it to make a thicker paste that sets hard) but has to be icing of some form!!
- Egg – haven’t tried a replacement here yet but if you do find something that works, message me so I can add it!

Quick Tips
- Make that icing reaaallly thick – so that you can only just dunk something in it!!! If you don’t, the colour will be really pale on your biscuit and almost see-through.
- If this is your first attempt, stick to a couple of colours of food colouring – perhaps white and two others?
- Freeze the dough once it’s rolled out!! I’ve included this step in the instructions below and I reaaaally recommend NOT skipping this step. If you don’t, the dough is super sticky and hard to cut shapes out of! You’re making more work for yourself that way!!
Lets get baking…

My BEST EVER Gluten Free Party Rings!!
The nostalgic lunchbox classic! Gluten free, simple recipe with basic ingredients and yummy results. Tons of pics to help you along your way too.
Servings: 20 biscuits
Ingredients
- 100 grams Stork - comes in a block, wrapped in foil, says "for biscuits" on the front
- 100 grams caster sugar
- 250 grams gluten free plain flour - I recommend FREEE by Doves Farm
- 500 grams icing sugar - 300g is sufficient to cover the biscuits but I find its easiest to decorate them if you've got loads of icing in the bowl!
- As many different food colourings as you'd like!!
- 1 egg
Instructions
Make the Dough
- Add the butter and sugar to a mixing bowl and whisk until smooth. >I use an electric whisk here but you can beat by hand if you haven't got one handy.
- Crack the eggs into the same bowl and whisk again until well combined.
- Add the flour and whisk again until combined – it'll come together to form a dough.

- Wrap the dough in cling film and place into the fridge for at least 30 mins to firm up. It will be very sticky, don't panic!!
Time to Bake
- Once the time is up, preheat the oven to 170oC (fan).
- Place a piece of baking paper onto a baking tray (use a tray that will fit in your freezer!). Using your hands, roll the dough into a rough ball and then flatten it with the palm of your hand onto the baking paper.

- Place another sheet of baking paper over the top of the dough (so its sandwiched between two sheets) and place your rolling pin ontop of the baking paper. Now, roll it out to about 1cm thick (roughly £1 coin). Place the tray into the freezer for at least 15 mins. >The baking paper is just to make it easy to roll because its so sticky! Its easy to roll too thin here so just roll gently!!>Don't skip the freezing – it makes it very hard to cut the shapes out!

- Remove the tray from the freezer and transfer the dough with both sheets of paper to the worktop. Carefully peel off the top layer of baking paper and place that back onto the the baking tray.
- Using biscuit cutters, cut circular shapes out of the dough and then cut the middle circles out to form rings. Place the biscuits onto the baking tray, spacing them out by a few cm as they will expand a little. >Haven't got biscuit cutters? Use anything circular! You can even cut out a circle from paper and use your knife to draw around that)

- Bake for 10-12 minutes, or until still pale in the middle but golden brown around the edges. Set aside to cool completely.
Icing!!
- Place the icing sugar and a tiny tiny dash of water into a bowl. Stir together and if necessary add a little more water. You're looking for the consistency of wall paper paste – REAAALLY thick but still so that you can dunk a biscuit into it. a
- Divide the white icing into as many bowls as you'd like colours. Add a tiny bit of food colouring to each and stir in. >A little food colouring goes a longgg way. Use a fraction of what you might expect.
- Carefully dunk 1 of the biscuits into your chosen colour. Place onto a cooling rack so the excess icing can drip through. >You only need to cover the top of the biscuit, not the underside.
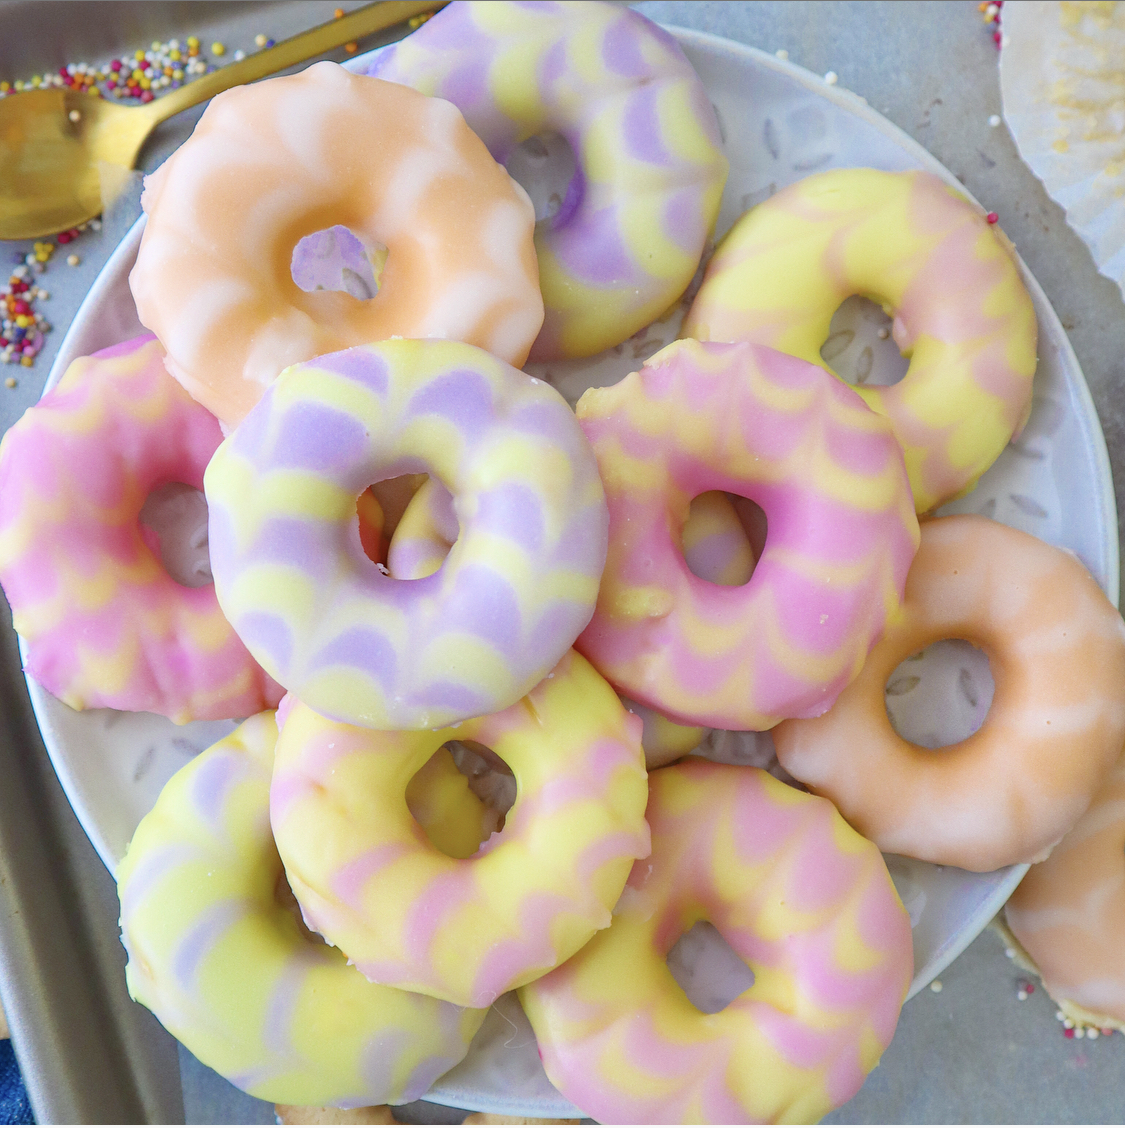
- Using a spoon/toothpick/skewer/piping bag with a tiny nozzle, draw lines across the biscuit in a different colour. Then, using a clean spoon/toothpick, drag lines in the opposite direction, to create a feathered look.
- Repeat for all of your biscuits
- Leave to set for at least 10 mins and then enjoy!!
Notes
My party rings will stay reasonably crunchy in a sealed container for 3 days but they are best when eaten immediately!
**Want some more nostalgic classics? How about Iced Gems? Cornflake Tart? Pop Tarts? Loads more in the baking section of my website 🙂 **


2 Comments
Rebecca – Glutarama
1st September 2020 at 11:57 pm
These looks amazing just like i remember them. How many eggs do you use?
jkitchengf
2nd September 2020 at 10:32 am
Hey sorry missed that!! Just the one 🙂 thank you – they’re so much fun to make, even for a 28 year old haha xx